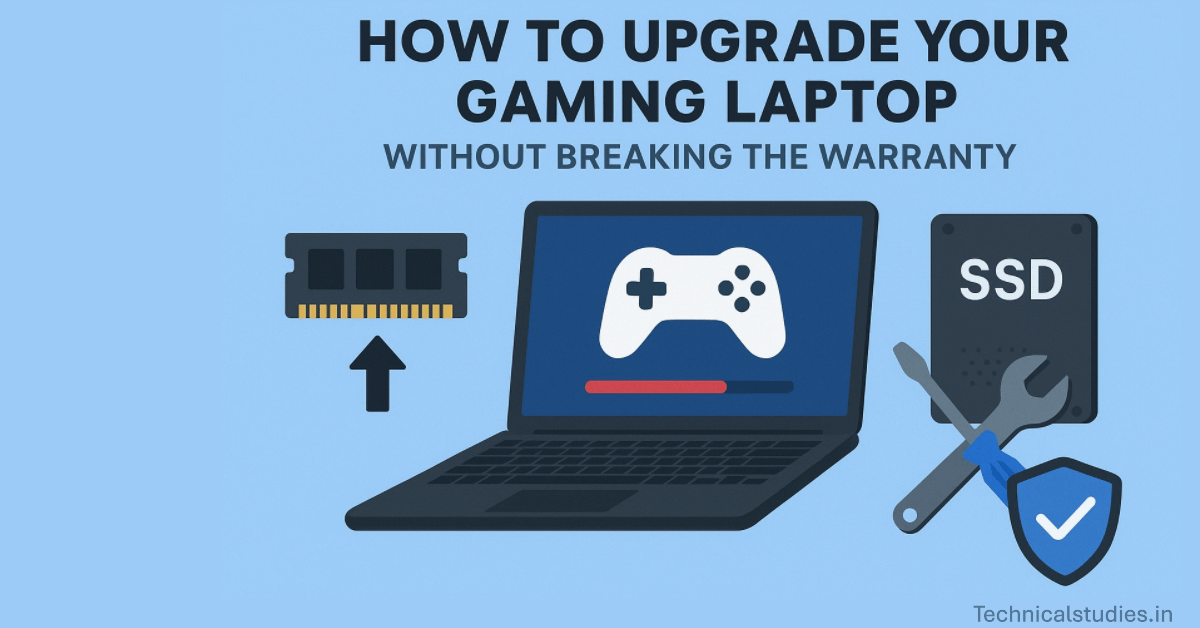
Upgrade your gaming laptop without breaking the warranty. Discover safe RAM, SSD, and Wi-Fi upgrades, step-by-step instructions, a checklist, FAQs, and tips.
Upgrading your gaming laptop is the quickest and most cost-effective approach to extend its life and performance. The secret is to do it correctly: choose improvements that are intended to be user-serviceable, follow official instructions, record everything, and avoid dangerous maneuvers that will void coverage.
Follow this guide and you’ll upgrade your gaming laptop without breaking the warranty — with practical steps, plain language, and the exact checklist a gamer needs.
Safe vs. Risky Upgrades
Safe (usually — when the model has a user-accessible panel)
RAM (SODIMM), M.2/NVMe SSDs, 2.5″ SATA disks (if the bay is available), and several Wi-Fi cards. Major manufacturers typically state that memory and storage upgrades do not automatically void warranties, but any damage caused during the upgrade is not covered.
Risky (avoid DIY or use authorized service)
BIOS modifications, overclocking, screen replacements, CPU/GPU swaps, removing or changing heatsinks (particularly if soldered or needing to be re-balled), and using liquid metal unless the laptop is made for it. Either the typical user cannot perform these tasks, or they are typically regarded as board-level work, which can result in warranty denial if they cause damage.
Warranty 101 (Plain English)
Warranty void vs. real-world practice
Manufacturers may deny warranty repairs if they can point out that your changes were the cause of the issue. It is usually okay to just open a user-access panel and install RAM or an SSD, but the damage might not be covered if you break a connector or scuff the motherboard.
Damage caused by vs. opened for upgrade
Causation is a crucial legal distinction. Many OEMs will still honor the warranty if the problem is unrelated to your update (for instance, a damaged GPU), so long as there is no proof that your upgrade was the reason for the failure.
User-accessible panels vs. sealed designs
The presence of a transparent RAM/SSD access hatch on your laptop is a clear indication that upgrades are planned. For safe operation, glued or ultra-thin designs frequently require authorized service.
Warranty void if stickers are removed
Tamper-evident stickers like this are widely used. Although the FTC and other agencies have resisted abusive sticker tactics in some jurisdictions (such as the US), actual enforcement differs by nation, so be cautious and retain records.
Where to check
Before handling anything, make sure you have read the service manual and the official support/warranty pages for your model. Community forums and manufacturer FAQs frequently provide clarification on what is safe.
Before You Touch a Screw: Pre-Upgrade Checklist

- Check your model’s repair manual to find out which panels can be removed and how to detach the battery.
- Verify the upgrade limits (supported NVMe size/gen, maximum RAM per slot).
- Make a recovery USB and back up everything.
- Get the following supplies: a plastic spudger, an ESD wrist strap, a small Phillips or Torx driver, and an anti-static bag.
- Take pictures of the screws and internal components, such as the cables, stickers, and serial numbers.
- Use tiny screw containers on a spotless, non-static surface.
Following these procedures makes it far simpler to demonstrate your caution and return the laptop to factory settings in the event that a service center asks it.
Know Your Hardware
Basics of RAM: SODIMM sticks (DDR4 or DDR5) are used in laptops. Because dual-channel (two matched sticks) enhances memory bandwidth, it frequently provides a substantial gameplay boost when compared to a single stick.
Basics of storage: PCIe Gen 3 vs. Gen 4 influences peak speed, but compatibility is more important; M.2 NVMe drives (the popular 2280 size) offer significant load-time gains over HDDs. Larger gaming laptops still have 2.5″ SATA bays.
The majority of Wi-Fi cards are plug-and-play; however, some OEMs utilize non-standard modules or whitelists. Make sure they work before purchasing.
Form factor is important: Compared to ultra-slim models, thicker gaming laptops typically offer more upgrade slots and better access.
Step-by-Step: RAM Upgrade (Warranty-Friendly)

Turn off the device, unplug it, and, if you can, take out the battery or isolate it according to the instructions.
Use an ESD strap or make contact with a metal object to ground yourself.
Use the appropriate driver to carefully open the access panel; avoid prying where there are no cracks.
Press down until the side clips click after inserting the SODIMM at an angle of around 30°.
To validate the new capacity, reassemble, boot to BIOS, and then check in the operating system.
Reinstall the module and try one stick at a time if the BIOS is unable to identify it. Most of the time, these easy steps allow you to upgrade a gaming laptop without voiding the warranty.
Read Also: How Much RAM Do You Really Need in a Laptop Today? A Practical Guide for Every User
Step-by-Step: SSD Upgrade (Add or Replace)
Verify if there is an empty M.2 slot (some laptops have two, while others only have one).
Choose between a clean install (long-term cleaner) or a drive clone (quick, preserves settings). Official tools for cloning or migrating SSDs are effective.
Align, insert, and fasten the M.2 with the little standoff screw. Avoid tightening too much.
Some service centers require you to reinstall original parts, so bag and identify the original if you’re replacing the factory drive.
Boot, enable TRIM, initialize/partition the OS, verify detection in the BIOS, and, if available, update the SSD firmware.
Other Possible Upgrades (Proceed With Caution)

Wi-Fi card swap: Make sure the card is compatible with your model and handle antenna connections with care.
Battery replacement: Low danger if externally detachable. If internal, think about authorized service because lithium batteries have safety and fire regulations.
Thermal paste and cleaning: While cleaning fans and using new thermal paste might lessen throttling, removing the heat sink poses a moderate to high risk of warranty problems; for difficult disassembly, consult service centers or official instructions.
What NOT to Do (Common Warranty Traps)
- Force open glued panels or pry where the manual shows none.
- Strip screw heads or damage ribbon cables and clips.
- Use liquid metal without a proper insulating layer (it can short components).
- Flash unofficial BIOS or modify EC firmware — these often void support immediately.
- Discard original parts — you may need to reinstall them for warranty returns.
Document Everything (Protect Yourself)
- Take clear pictures of the screw patterns, connectors, and stickers before and after.
- Save serial numbers, part numbers, and receipts.
- Manufacturers occasionally request that you return the system to factory settings for repairs; keep original parts in anti-static bags.
- Maintain a brief upgrade journal that includes the date, the changes you made, and the part numbers.
These documents significantly improve the likelihood of a positive warranty contract and are your greatest defense in the event that a service representative disputes your update.
After the Upgrade: Validate and Optimize
Quick tests: Verify SSD S.M.A.R.T. status, conduct a RAM test (memtest86 or built-in tools), and check BIOS for proper RAM and SSD recognition.
Install the most recent wifi, storage controller, and chipset drivers to update your drivers.
Benchmark: Verify stability and thermal behavior using a brief stress test and a few game load-time checks.
Minimal thermal housekeeping: Clear the vents of dust; if you are not experienced, do not remove the heatsink.
When You Should Use an Authorized Service Center
- The manual cautions against user disassembly, and tamper stickers are used to seal the main panel.
- The laptop needs to be disassembled completely, including the heatsink.
- The gadget is covered by a warranty or premium plan that specifically calls for authorized repairs.
- ESD and handling little screws and ribbon wires make you uneasy.
Although authorized service may be more expensive, it avoids the trouble of warranty issues down the road.
Myths & FAQs
Opening the back panel always voids the warranty.
Not always; it relies on your model and subsequent actions. Maintain documentation and avoid causing harm.
Mixing RAM brands never works.
It can function, but the likelihood of instability is decreased by matching capacity, speed, and timing.
All laptop SSDs need heat spreaders.
Check for clearance and manufacturer recommendations; many function well without them.
Upgrading always increases temps.
Not usually; thermal paste and cleaning typically lower temperatures, but a faster SSD or more RAM can occasionally reduce CPU work and lower temperatures as well.
Summary
You can absolutely upgrade your gaming laptop without breaking the warranty — but do it smartly.
When your model has user-accessible slots, swapping out RAM and NVMe SSDs is the safest and most profitable update. Read the instructions carefully, record everything, save the original components, and stop any work that involves board-level surgery or heatsinks. Use an authorized service center or get in touch with OEM assistance if you are unsure.
FAQ
Can I upgrade my gaming laptop without voiding the warranty?
It depends on the model and brand of your laptop, but yes, you can. Upgrades like RAM or storage are frequently permitted by manufacturers as long as you abide by their rules and don’t harm other parts. Prior to opening the laptop, always read the repair manual and warranty terms.
Which laptop upgrades are usually safe under warranty?
Common safe upgrades include:
Adding or replacing RAM
Adding or replacing an M.2/NVMe or 2.5″ SSD
Swapping a Wi-Fi card (in some models)These are typically considered “user-serviceable” parts, but you should still confirm with the manufacturer.
What upgrades might void my laptop’s warranty?
High-risk upgrades include:
Changing the CPU or GPU
Removing the heatsink to repaste
Modifying the motherboard or BIOS
Breaking manufacturer seals/stickersThese can void your warranty instantly.
Should I upgrade my laptop myself or use an authorized service center?
DIY is OK if your laptop includes an upgrade panel that is easy to use, and you feel comfortable using simple tools. However, using an authorized service center is safer because it preserves your warranty when it comes to sealed designs, tamper stickers, or complicated updates.
Is upgrading a gaming laptop better than buying a new one?
Upgrading RAM and SSD can give your laptop a new boost for a fraction of the price of a new system if your CPU and GPU are still in good condition. It could be wiser to save money for a new laptop, though, if your GPU is old and unupgradable.
Can I upgrade a thin-and-light gaming laptop as easily as a bulkier model?
Not usually. Upgrades are difficult or impossible for slim laptops since they frequently have soldered RAM and fewer upgrade slots. Always check your model’s specs before buying new parts.
Sources
Share Now
Related Articles
How Do You Keep Your Gaming Laptop Cool? 10 Best cooling solutions to follow
Battery Life in Gaming Laptops: Myths, Facts & Real Numbers
Top 10 Tech Gift Ideas For Special Occasions In India: Make Every Celebration Better!
Discover more from technicalstudies
Subscribe to get the latest posts sent to your email.