
Every exam form has its own upload rules. A photo might need to be 200 × 230 pixels and under 50 KB, while the signature field asks for a different size and a much smaller file. Cropping alone doesn’t fix this, because dimensions and file size are two separate limits. An image can have the right pixel size and still be rejected for being 120 KB.
This free photo & signature resizer tool lets you enter the exact width, height, and KB limit from your form’s notification. It resizes and compresses your image to match, right in your browser. Your files are never uploaded anywhere.
Drag the image to position it. The box shows exactly what will be saved.
Sizes are typical values for each exam. Always check them against the latest official notification, and edit the boxes above if they differ.
Explore our other free tools. More Tools – Free QR Code Generator
Photo & Signature Resizer
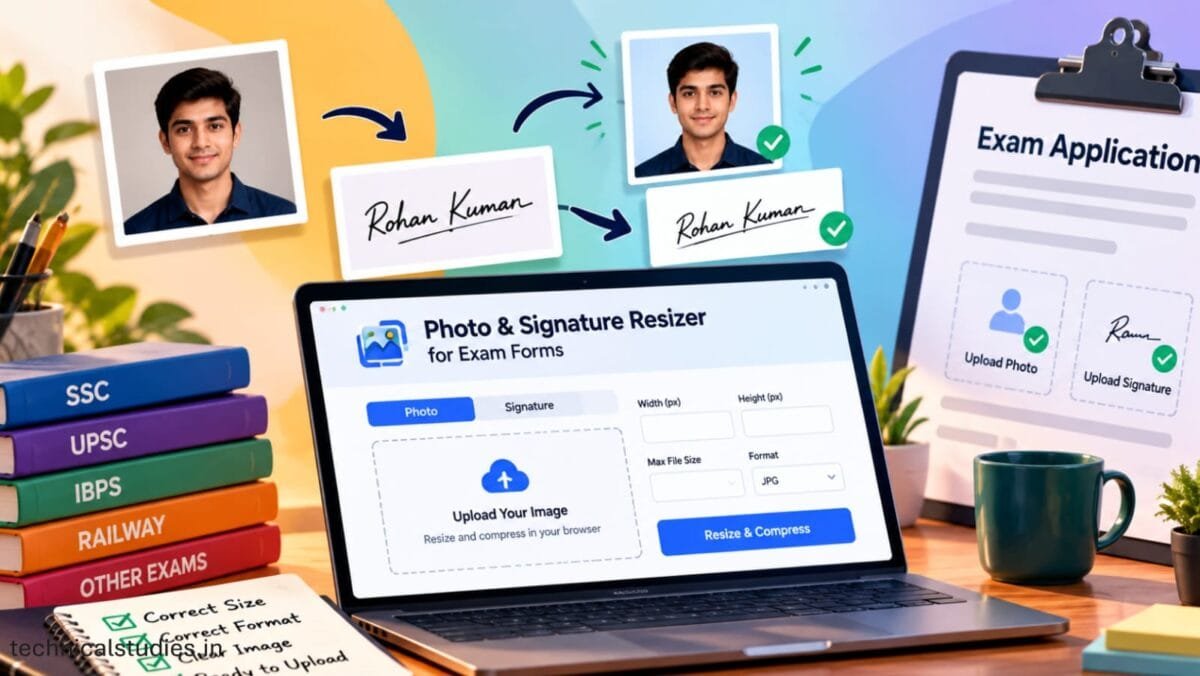
What Does a Photo & Signature Resizer Do?
A photo and signature resizer changes your image to match the limits on an application form. It does two separate jobs –
- Resizing sets the image dimensions: its width and height in pixels, such as 140 × 60.
- Compressing reduces the file size, which is the space the file takes up, measured in KB.
A photo can be exactly 200 × 230 pixels and still be rejected for being 300 KB, and a small file can be rejected for the wrong dimensions. You have to meet both limits.
This tool does both in one step. You can upload a JPG, PNG, or WebP, and it saves the result as a JPG, which is what most exam portals accept. If your form asks for another format, check that before you start. Your file is processed in your browser and never uploaded.
Why Do Exam Forms Have Strict Photo and Signature Requirements?
Application portals handle thousands of uploads, and most check them automatically. A fixed size lets the system place your photo correctly on the admit card, the attendance sheet, and the application printout. Without it, the image could appear stretched or cut off. Small file-size limits keep uploads fast and keep storage manageable.
Signatures are different. A signature is wide and short, so its required proportions, such as 140 × 60, look nothing like a passport-style photo. That’s why you can’t reuse one setting for both.
A clear, well-lit image can still be rejected if the dimensions or KB size are even slightly off. The portal checks the numbers, not how the image looks.
Always check the latest instructions on the official examination or application website before preparing your files.
Photo vs Signature: What Needs to Be Resized?
| Requirement | Photo | Signature |
|---|---|---|
| Shape | Usually portrait | Usually wide (landscape) |
| Dimensions | Set by your exam | Set by your exam |
| File size | Set by your exam | Set by your exam |
| Format | Stated in the form instructions | Stated in the form instructions |
| Background | Some forms ask for a plain or white one | Should be clear, with dark ink on white |
Don’t use the same settings for both. A signature forced into photo dimensions looks stretched, and its thin strokes can blur. A photo cropped too tightly can cut off the top of your head or your shoulders, which is a common reason for rejection.
That’s why this tool has separate Photo and Signature tabs. Choose the one you need, check the numbers against your form, and use the preview box to position your image before saving.
How to Resize Your Photo for an Exam Form
Step 1: Check the official requirements. Find these in your form’s notification: width, height, minimum and maximum file size, accepted format, and any background or quality rules.
Step 2: Upload your photo. Select the Photo tab, then click the upload box or drop your image in. A preview box appears. Drag the photo to position your face, and use zoom or rotate if needed.
Step 3: Enter the required size. Pick your exam from the list, or choose Custom. Then compare the width, height, and KB boxes with your form and change anything that differs. Use the numbers from your application, not a size you found online.
Step 4: Compress. Click Resize and compress. The tool lowers the file size to fit your limit. If it can’t, it tells you to try a smaller width and height.
Step 5: Download and verify. Save the JPG, then check four things before uploading:
- The dimensions
- The file size
- The format
- That the image still looks clear when you open it
How to Resize a Signature for an Exam Application
- Sign on clean paper. Use a dark pen, preferably black or blue, on plain white paper. Follow any instructions on the form, such as signing inside a box.
- Scan or photograph it. Take the photo in even light, with no shadows across the paper.
- Crop the blank space. Do this before anything else, as explained below.
- Enter the required size. Select the Signature tab and use the width and height from your form.
- Compress. Click Resize and compress to fit the KB limit.
- Check readability. Zoom in and make sure the strokes are clear.
- Download the JPG.
Why cropping comes first: If your photo shows a lot of empty paper around the signature, the whole image gets shrunk to the target size, and the signature ends up tiny. In the tool, use Zoom and drag the image so the signature fills the preview box.
What If the Image Is the Right Size but Still Gets Rejected?
Correct dimensions don’t guarantee a valid upload. Check each of these –
- File size: It may be over the maximum, or under the minimum. Many forms have both.
- Format: The portal may want JPG, and your file is PNG or WebP.
- Exact dimensions: Being off by even a few pixels can fail a strict check.
- Distortion: A stretched photo or a squashed signature can be rejected.
- Clarity: A blurry, dark or shadowed image may fail review.
- Blank space: A signature lost in white space can look too small.
- Extra rules: Some forms ask for a plain background, a recent photo, a visible face or no cap or glasses.
- Updated rules: The portal may have changed its requirements since a guide or older notification.
Go back to the official instructions and check every item, not just the pixel size.
Why Your Photo Looks Blurry After Resizing
Blur usually comes from one of three causes –
- A small source image. Enlarging a low-resolution picture, such as a cropped screenshot or a WhatsApp copy, stretches pixels that weren’t there originally.
- Heavy compression. To fit a tight KB limit, JPG compression discards detail, which shows up as blocky patches around edges.
- Repeated saving. Every time you re-save a JPG, it loses a little more quality.
How to avoid it: Start with the clearest original you have, such as the camera photo itself. Resize it once, straight to the required dimensions. This tool compresses only as much as your KB limit needs, so don’t compress it again elsewhere.
Photo & Signature Resizer for SSC, UPSC, IBPS, Railway and Other Exams
You can use this tool to prepare uploads for many kinds of online applications –
- SSC examinations
- UPSC examinations
- IBPS and other banking examinations
- Railway recruitment examinations
- State government examinations
- Other recruitment and entrance exam applications
The photo size, signature size, file size and format can differ by exam, recruitment notice, post or application portal. Even two notifications from the same organisation can ask for different values.
The exam list in the tool gives you starting values, but treat them only as a starting point. Compare them with your own notification, then edit the width, height and KB boxes to match. If your exam isn’t listed, choose Custom size and enter your own numbers.
The official application instructions are always the source of truth.
Is It Safe to Resize Exam Photos and Signatures Online?
When you choose a file, your browser does all the work: it resizes, compresses and creates the new image on your own phone or computer. The image is never sent to our server or any other server for processing.
That matters for items like your photograph and signature, which many people would rather not hand to a third-party site.
You can check this yourself. Open the page, turn off your internet connection, and use the tool. It will still work.
Common Mistakes When Preparing Exam Photos and Signatures
Avoid these before you upload –
- Using an old notice. Sizes from last year’s form may no longer apply.
- Assuming all exams are the same. Each exam and post can have its own specifications.
- Checking only KB. The dimensions must match too.
- Checking only dimensions. The file size has to fit as well.
- Stretching the image. Crop and position it properly instead of forcing it to fit.
- Starting with a blurry image. Resizing can’t add clarity that wasn’t there.
- Leaving blank space around a signature. It makes the signature look tiny.
- Over-compressing. Heavy compression leaves the image blocky or unclear.
- Forgetting the format. Check that the final file is the type the form accepts.
- Uploading the wrong file. If you made several versions, check the name and size before uploading.